Using tinyauth with Runtipi
Runtipi is a very popular open source personal homeserver helper that enables you to manage and run multiple services on a single server. For more information check its website. Due to the very powerful proxy features it offers, it can be easily integrated with tinyauth to offer a seamless authentication experience. Let's see how you can set it up in under five minutes.
Create your users and OAuth clients
You firstly need to create your users, this can be done with the tinyauth CLI. Make sure to select yes in the format for docker option else tinyauth won't be able to parse the user.
The runtipi app also includes inputs for Github and Google, so if you would like to use OAuth you can follow the OAuth guides and note down your client IDs and secrets.
Change the forward auth middleware
Runtipi by default uses its own login screen for authentication, we want to replace that with tinyauth. This can be done by enabling advanced settings:
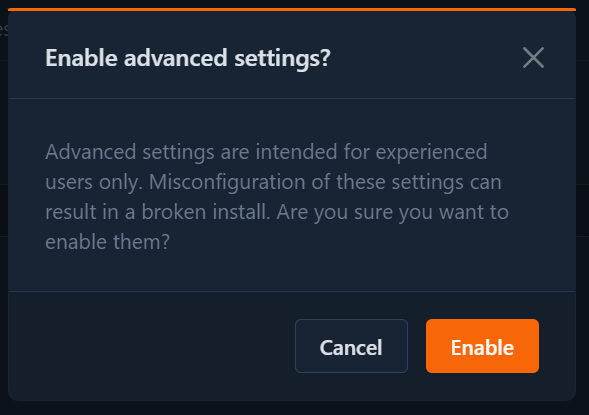
And setting the forward auth URL to http://tinyauth:3000/api/auth/traefik:

Finally make sure to save your settings and restart runtipi.
INFO
From runtipi version v4 multiple app stores are supported. This means that the container name may change. If you are unable to get redirected to the tinyauth login screen, try to use http://tinyauth_migrated-tinyauth-1:3000/api/auth/traefik as the forward auth URL.
Install tinyauth
Now we can go to the app store tab, click the tinyauth app, fill in our users, OAuth credentials and any other information you like. But before we click install we need to either flip the local domain switch or the expose switch to expose tinyauth to a domain. This is required for tinyauth to function as it will not be able to set the cookies correctly through the port. So, depending on your setup either use your local domain as an app URL or the expose domain as app URL (in either case you should use https). Finally click install and everything should be good to go.
INFO
You can customize more aspects of tinyauth, like adding a generic OAuth provider by using runtipi's user config.
Enabling authentication for apps
From now on, you can enable authentication for every app you like by opening its settings and flipping the enable authentication switch:
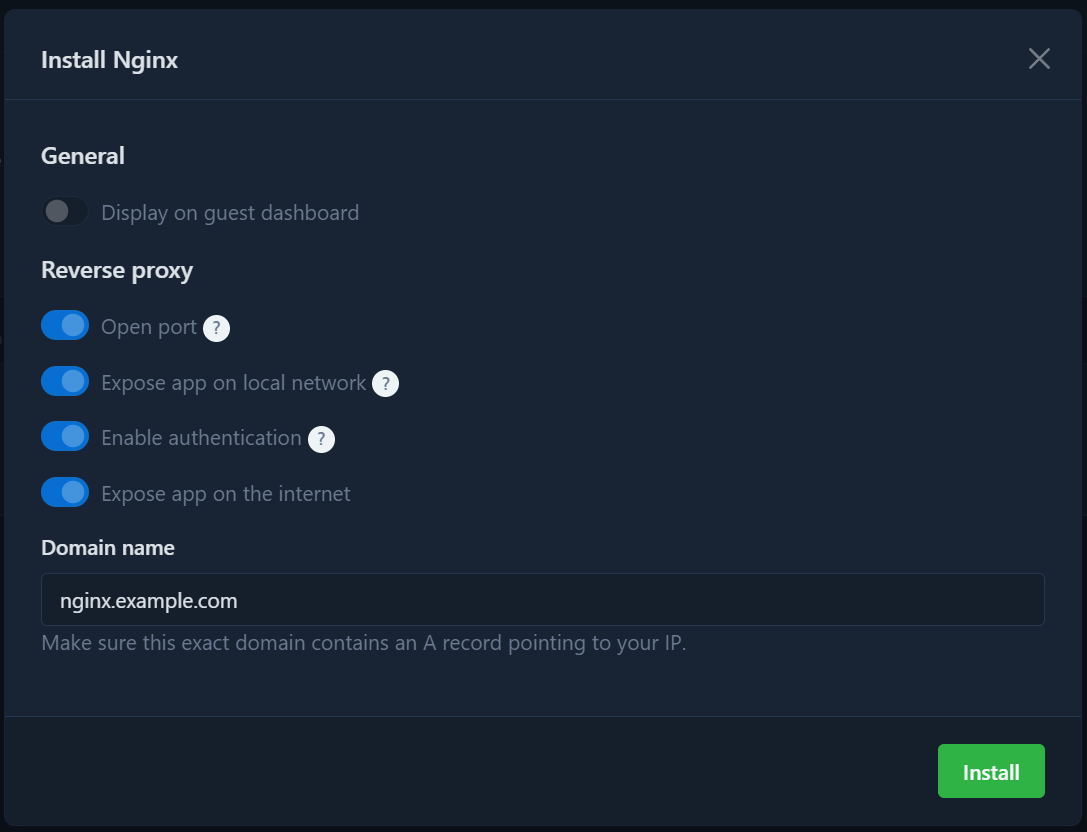
WARNING
For authentication to work correctly you either need to use the local domain or make sure that the expose domain is under the same root level domain as tinyauth. For example tinyauth.example.com and nginx.example.com will work but tinyauth.domain1.com and nginx.domain2.com will not work.